Replacing the bad flyback transformer in Apple's Studio Display 17"
Opening up CRTs is dangerous. Do this at your own risk. Considering hiring a professional instead.
The Apple Studio Display 17" was a notoriously unreliable display introduced by Apple in 1999. Many, or even most, of the units had a defective flyback transformer that would eventually lead to the death of the monitor, and this was a problem only for the 17” entry-level model. The expensive 21" model was a Sony Trinitron and, as far as I know, didn't have such bad reliability, but the 17" model was a Mitsubishi Diamondtron.
I found my particular unit for sale by a local electronics recycler. At the time I didn't even have my Power Mac G3 (B&W) yet; that was actually a later acquisition to complete the set. Unfortunately for me, at the time of purchase I didn't know about their reputation for awful reliability. When I started experiencing symptoms, I found some people online talking about the problem but almost no success stories of fixing it. (In the last couple years after I did my repair, I've noticed an uptick in the number of people who say they've successfully replaced their Studio Display's flyback!)
The symptom of the issue is an occasional “snap” and momentary disappearance or dimming of the picture. As far as I understand, that’s the flyback arcing and losing its charge, causing it to be unable to provide the voltage needed for the picture until it builds up the voltage again.
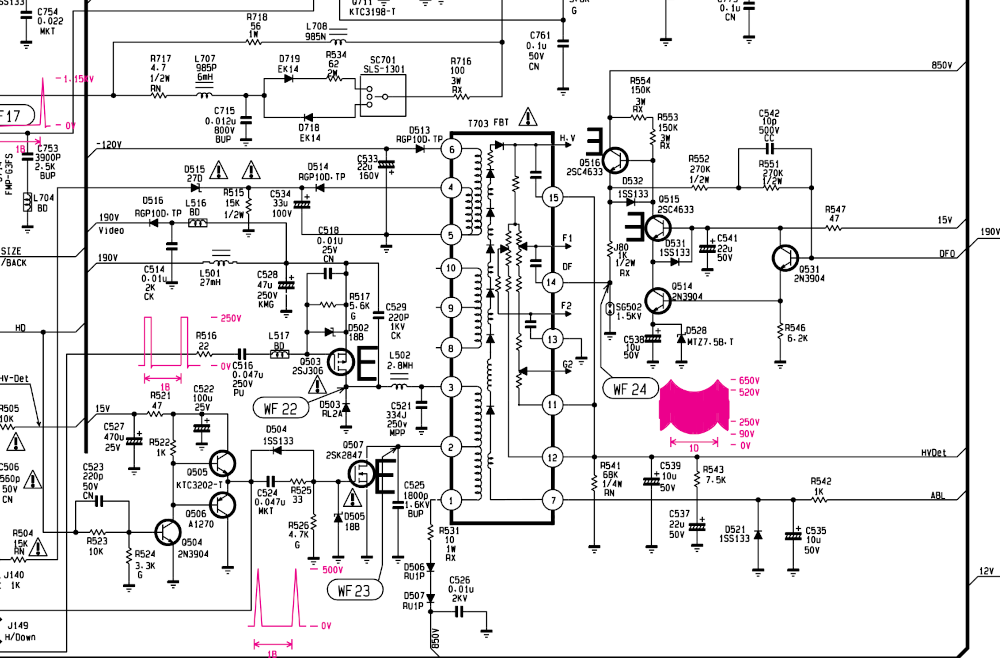
There is a Spanish company that makes (or made?) replacement flyback transformers. Their 46162 model is supposed to be a drop-in replacement for this particular CRT model. The transformer is of their own design, so it’s noticeably different in terms of construction but should provide the same voltages.
I was lucky enough to find it from a domestic reseller, but they don’t seem to have any more stock of it at the moment. If you can find one, I don’t actually recommend doing it yourself. CRTs use high voltages that often go beyond 10,000V, and it can be a pain in the butt to do the repair (as shown in the video).
Ideally, you can find a place that still repairs CRTs - perhaps an electronics repair shop with some old-timers that still remember how a CRT works. But if you are going to repair your Apple Studio Display, do it before it completely fails. From what I’ve seen people say online, at some point it will arc its last arc and then die, possibly due to frying some nearby components. If not, use it sparingly.
You'll need:
- Phillips-head screwdrivers
- Flat-head screwdriver and wire with alligator clips OR CRT discharge tool
- Plastic trim remover / spudger
- Desoldering gun (in the video is the Hakko FR301-03/P desoldering tool)
- Soldering iron (in the video is an older Weller soldering station
- (optional) Also used in the video is the Kotto fume extractor
- Solder
- Dremel?
- Needle-nose pliers
- A spare weekend
- Confidence
Opening up the Apple Studio Display
Most of the instructions you’ll need are provided by Apple’s “Service Source” manual. When you get to the point where the anode cap is accessible, definitely take the precaution of discharging the anode (illustrated both in the manual and the video above).
Unfortunately, the flyback is not something they expected a technician to replace, so the instructions end a bit prematurely. The final step is to carefully get the circuit board out of the plastic and metal frames so that you have easy access to both sides.
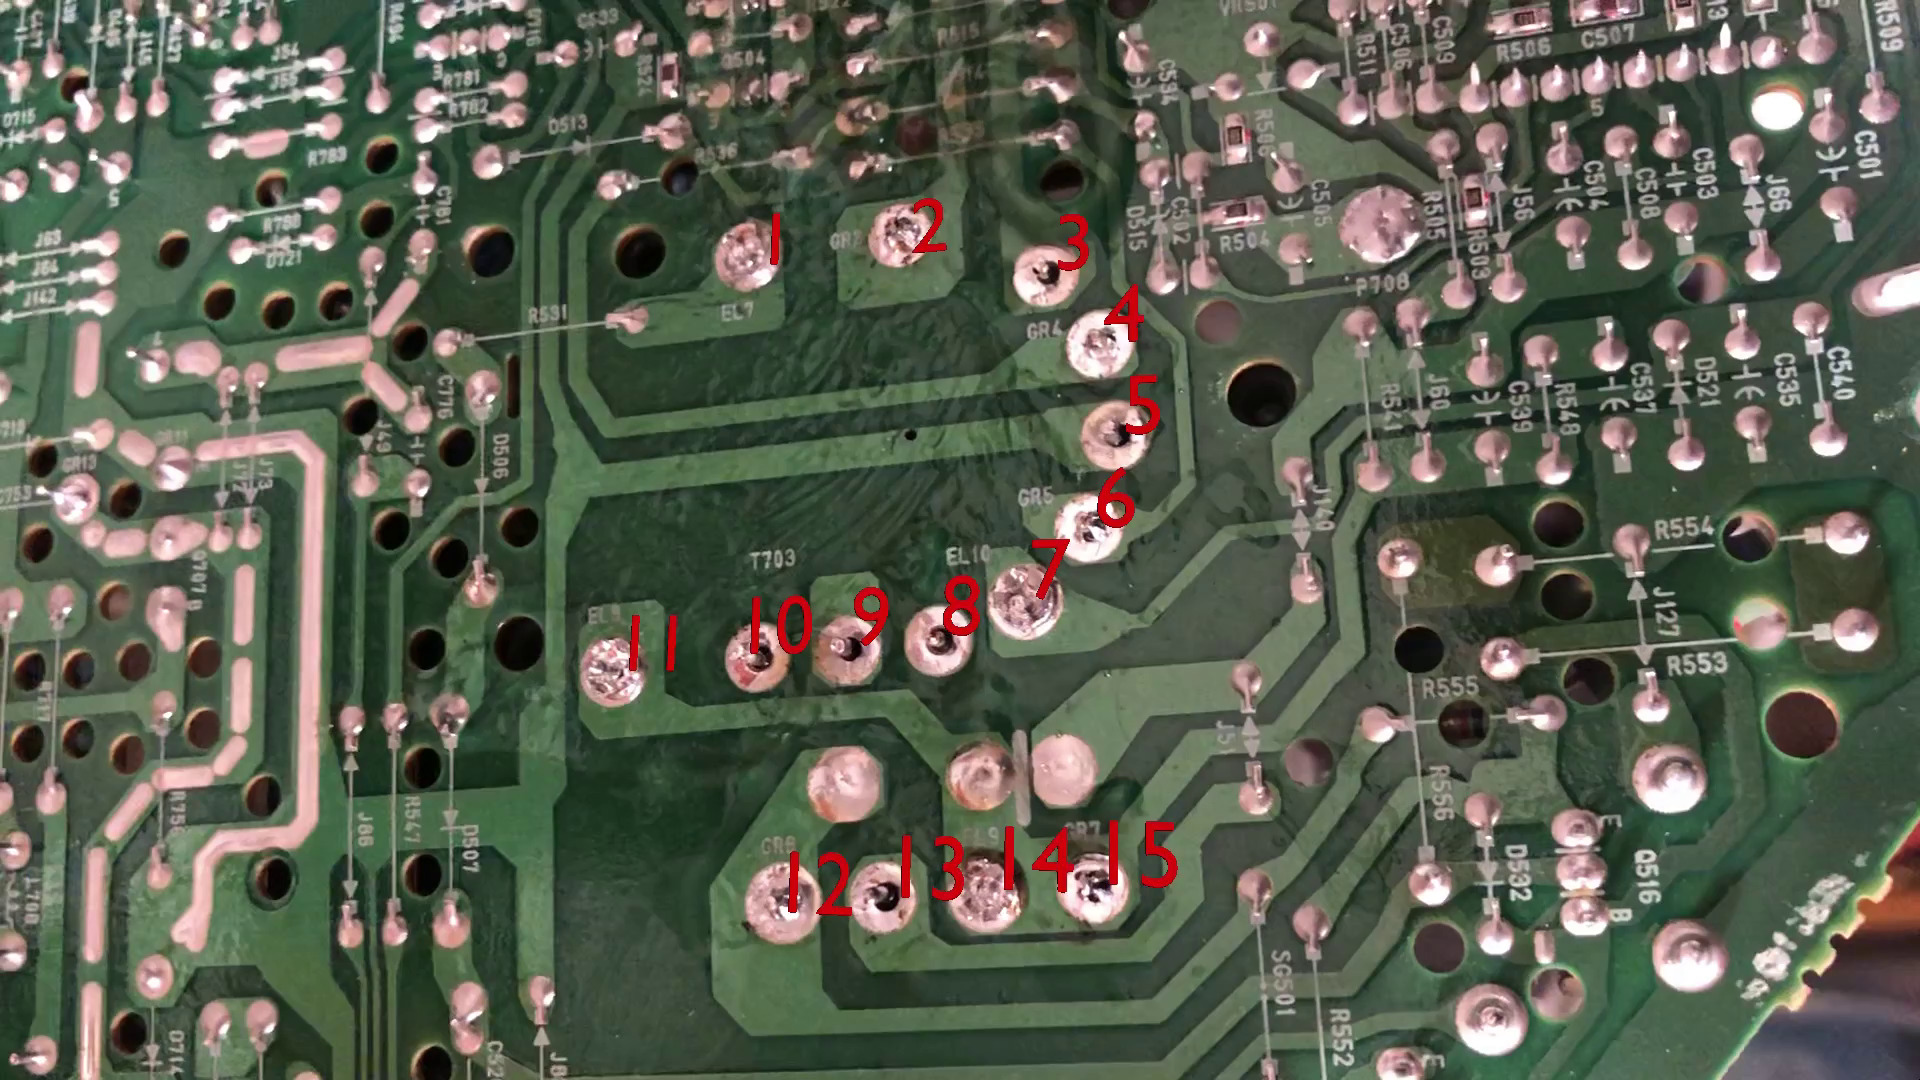
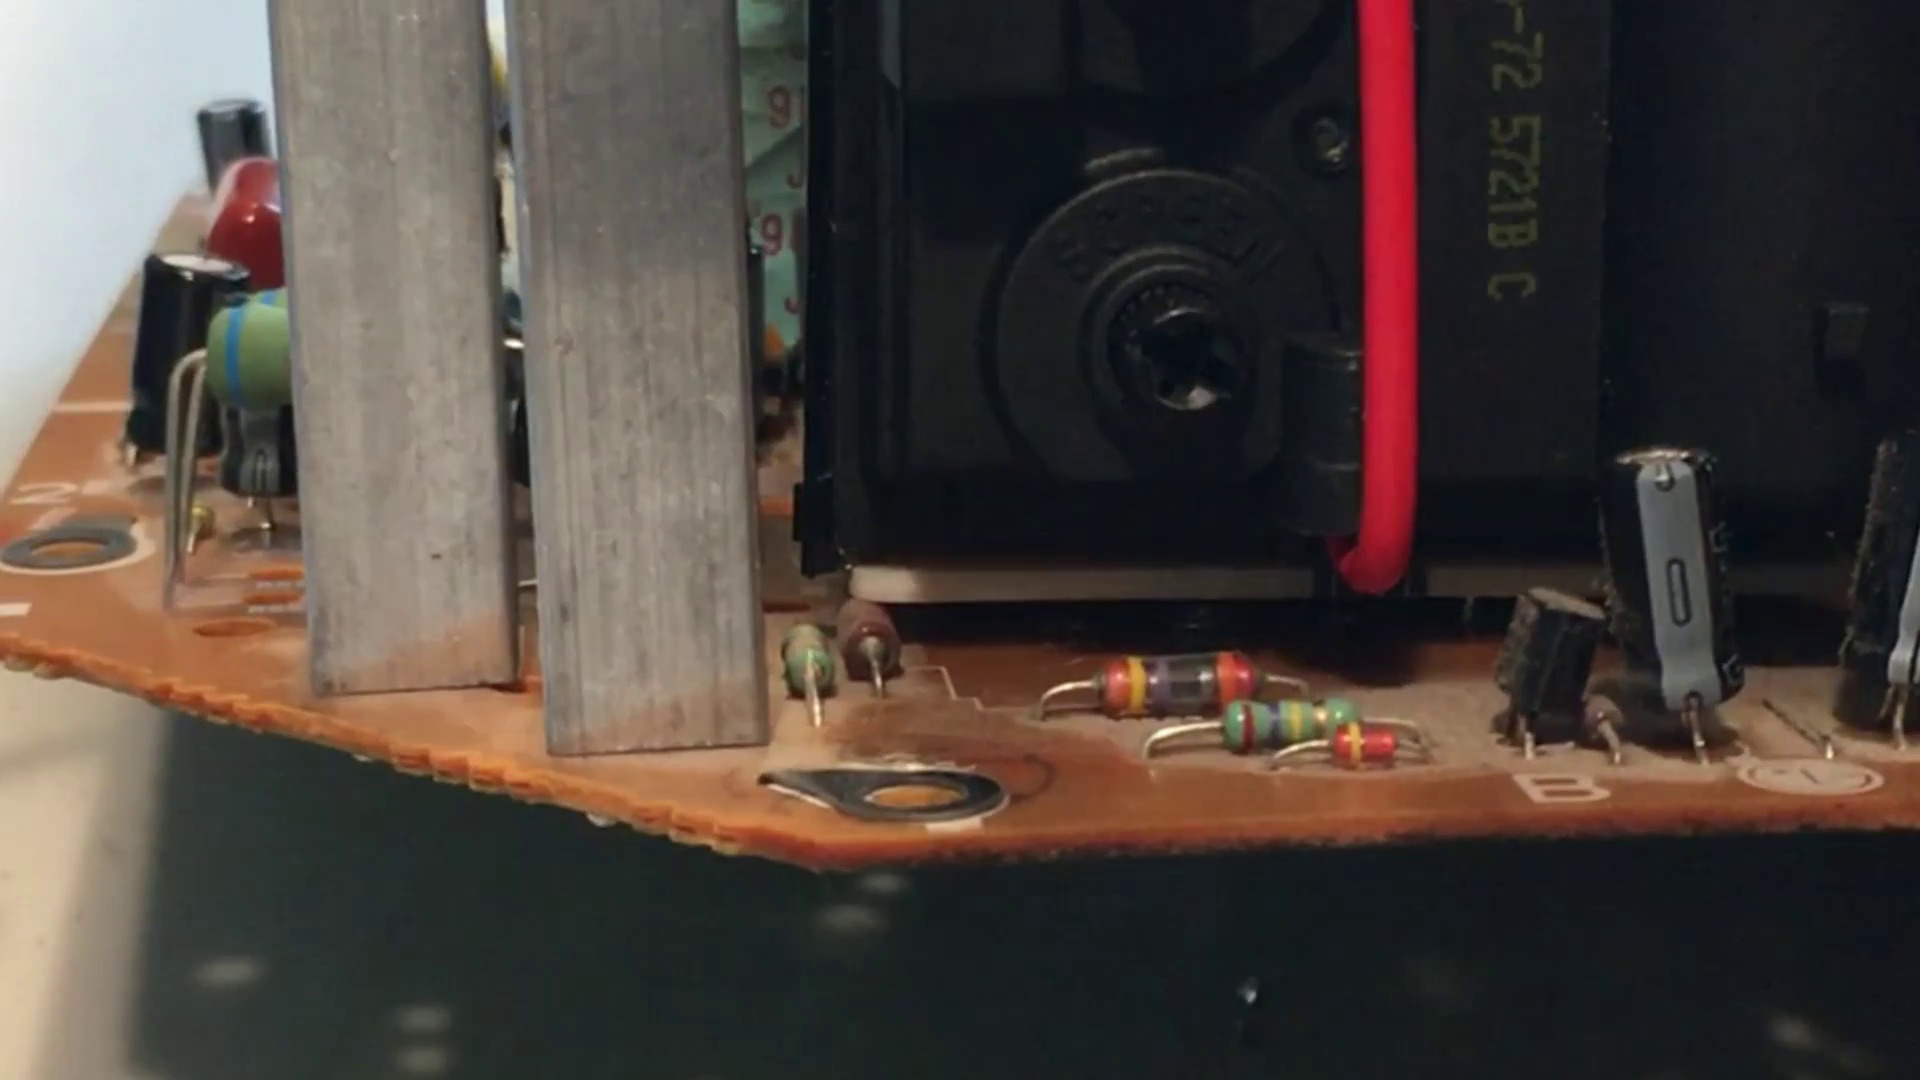
Next, desolder and remove the flyback and also the capacitor that HR Diemen tells you to remove. Check to see if the flyback collides with any nearby components - you may have to do like I did in the video and dremel off a corner of the flyback.
The wires coming out of the flyback should replace the old ones that went into the neck board:
| Purpose | New flyback (HR Diemen 46162) | Old wires |
|---|---|---|
| focus | black | red |
| focus | white | white |
| screen (G2) | red | orange |
The G2 wire is thinner than the other 2 wires because it carries lower voltage, so definitely don’t confuse the wires. The white focus wires match, leaving only the other focus wire, where the old red wire is replaced by the new flyback’s black wire.
You may be tempted to splice the old and new focus wires together, but there's a reason the focus wires have extra-thick double insulation. The technical specs for the monitor indicate a normal High Voltage (H.V.) of 26kV, with protection cutoff at 28kV. So you should be confident that whatever insulation you wrap around that splice can insulate against at least that much, and I don't think I would have that confidence in electrical tape.
During reassembly, right before you put the EMI shield back is your opportunity to adjust the focus and screen brightness. Basically, hook up the monitor to a known picture so that you can calibrate it. There should be 3 knobs on the flyback that you can adjust with a Phillips-head screwdriver: two focus knobs and a screen (G2) knob.
G2 adjusts the brightness of the screen - with the monitor set to 100% brightness, G2 should be adjusted to the brightest it can be without diagonal white lines showing up. Those white lines are from the electron beam going back from the right side of the screen to the left. See the video to know what I mean.
The focus knobs should be tuned so that the screen image is sharp. I don’t really have a good set of steps for this, so just play around with them until the monitor is as sharp as can be.
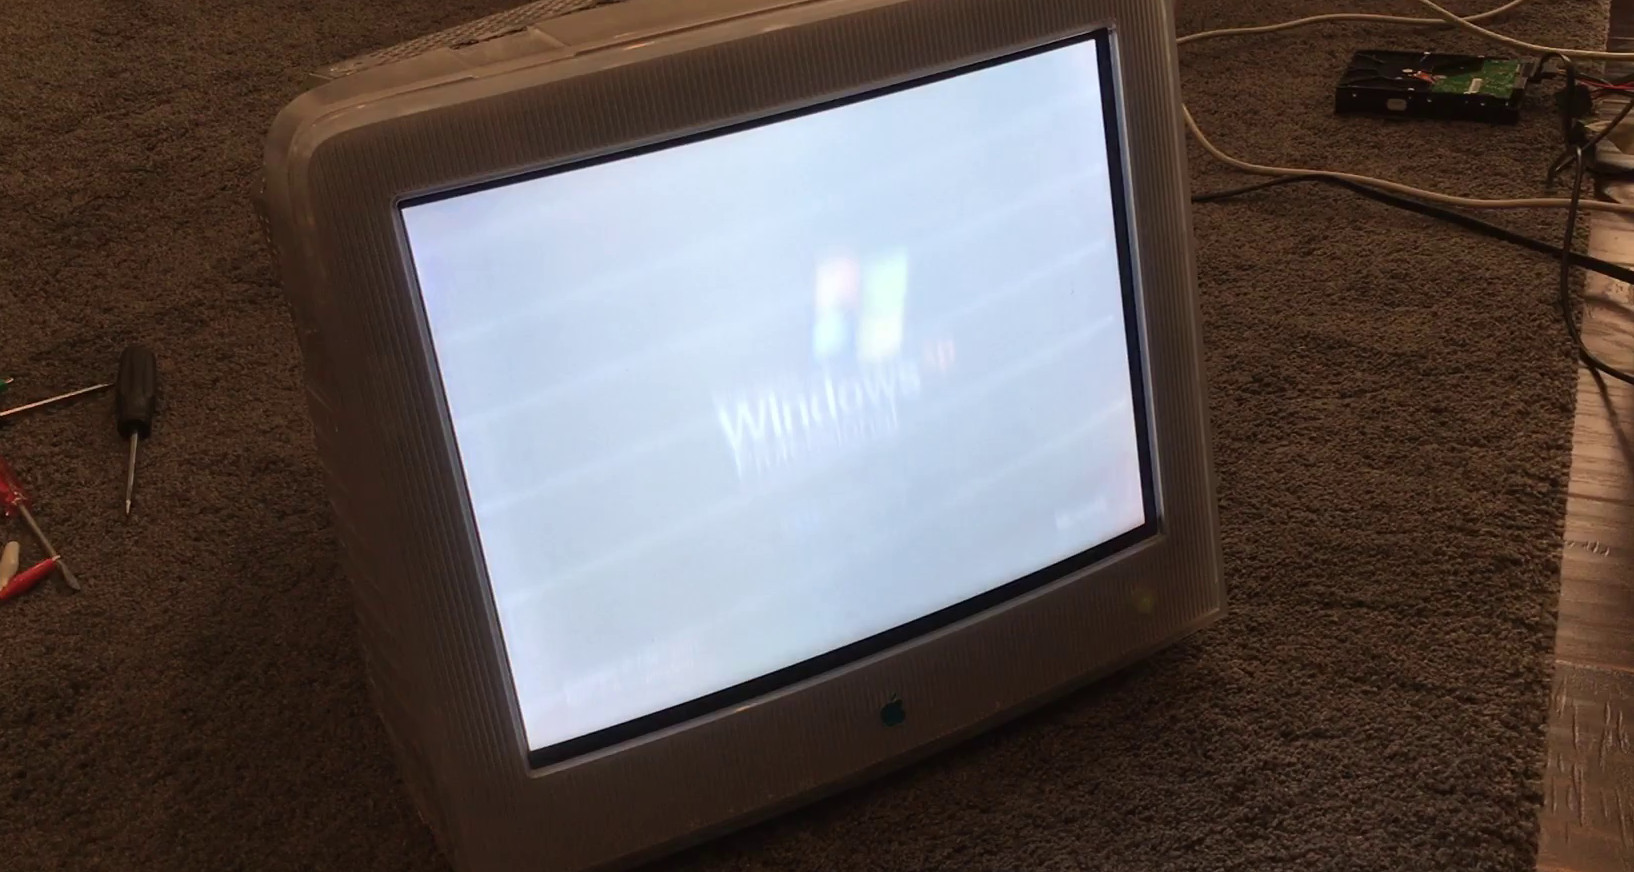
Lastly, put everything together and make sure it still works.
I’m very much not an expert nor an authority on this stuff so feedback, corrections, tips, and advice are welcome. Until I get a Fediverse account set up, the best venue is the comments on the YouTube video.
More links
- Apple's disassembly manual for the Apple Studio Display 17"
- Official HR 46162 flyback transformer product listing on HR Diemen's website
- Electronica (reseller)—HR46162 currently listed as "out of stock" as of August 5, 2023
- Dönberg Electronics (reseller, Ireland)—No idea how good they are or whether they have it in stock
- If you can't find it elsewhere, HR Diemen FBTs occasionally show up on eBay
- Comments about this page on Hacker News
- An interesting discussion of the high-voltage danger in a CRT (www.eevblog.com) from userbinator on HN
- This post on Reddit (unfortunately posted after I had done my repair) seems to suggest that at least some faulty units can be fixed by cleaning and touching up the solder joints. An exercise for the reader.